Slip, Trip and Falls Risk Assessment: A Complete Guide

A slip, trip and falls risk assessment is the single most effective tool employers have for catching hazards before they turn into injuries. Because falls remain one of the leading causes of workplace injury across every industry, from warehousing to healthcare, a structured assessment process is not optional paperwork. It is the difference between a near miss and a lost time incident. This guide walks through what a proper hazard identification process looks like, why workplace safety compliance depends on it and how to build a repeatable system that actually holds up during an audit. You will learn the exact steps for risk evaluation, the common fall hazards most sites overlook and practical fall prevention measures that reduce liability while keeping people safe. Whether you manage a single facility or oversee occupational health and safety across multiple sites, this breakdown gives you a framework you can apply immediately.

What Is a Slip, Trip and Falls Risk Assessment?

A slip, trip and falls risk assessment is a systematic process of identifying, evaluating and controlling hazards that could cause someone to lose footing or balance in a workplace.

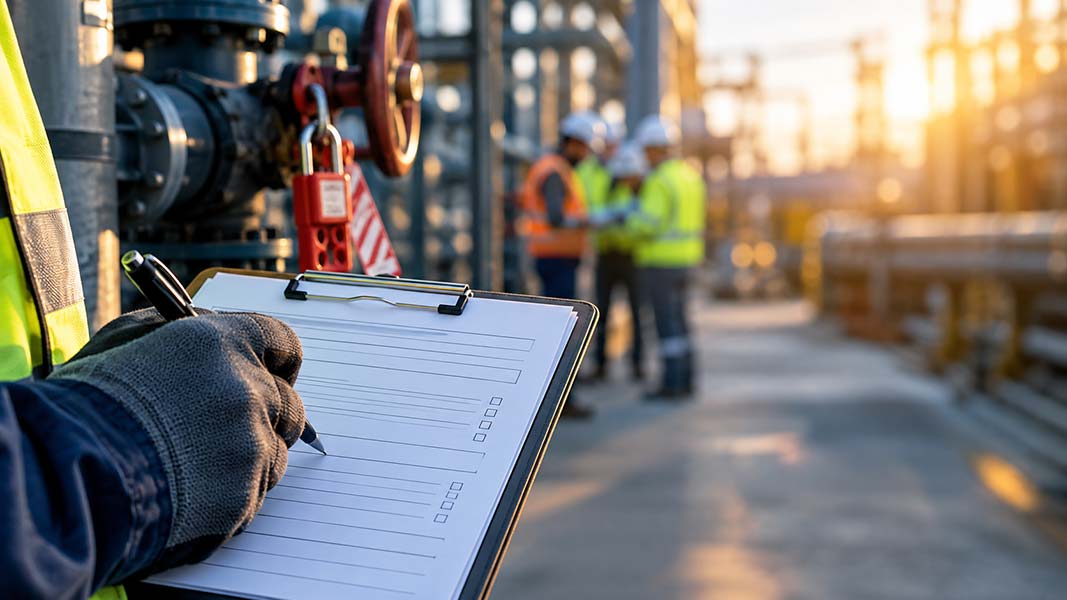
It is not a one-time walkthrough with a clipboard. It is an ongoing evaluation that combines direct observation, incident history and employee input to build an accurate picture of where a facility is exposed. Because floors, stairs, ramps and outdoor walkways change condition constantly due to weather, foot traffic and maintenance schedules, this assessment needs to be revisited on a set cadence rather than treated as a formality.

The Health and Safety Executive in the UK reports that slips and trips account for over 30% of all reported major workplace injuries, which is why regulators expect documented evidence that this process is actually happening, not just claimed.

Definition and Scope Within Workplace Safety Programs:

Within a broader workplace safety compliance program, a slip, trip and falls risk assessment sits as one component of a larger hazard identification framework, but it deserves its own dedicated process because the causes are so specific. Its scope typically covers walking and working surfaces, lighting conditions, signage, weather exposure for outdoor areas and even footwear policies.

A facility manager conducting this assessment looks at flooring material, drainage, cable management and clutter, then cross references that with foot traffic patterns and shift schedules. So the scope is not just physical hazards. It also includes behavioral and environmental factors, such as rushed movement during shift changes or poor visibility during night operations. This is what separates a genuinely useful assessment from a checkbox exercise that gets filed and forgotten.

How It Differs From General Workplace Hazard Audits?

A general workplace hazard audit casts a wide net, covering everything from chemical exposure to machine guarding to ergonomic strain. A slip, trip and falls risk assessment, on the other hand, drills into one specific hazard category with far more granularity.

For example, a general audit might note “flooring in fair condition” as a single line item, while a dedicated falls assessment measures slip resistance coefficients, checks for worn transition strips between surfaces and documents specific locations where spills or debris recur. Therefore organizations that rely solely on general audits often miss recurring fall hazards because the audit format simply is not built to catch that level of detail. Pairing both processes gives a far more complete safety picture, but the falls-specific assessment is what actually prevents the injuries that general audits tend to gloss over.

Why Slip, Trip and Falls Risk Assessment Really Matters?

A slip, trip and falls risk assessment is not a compliance formality. It is what stands between a normal shift and a six-figure liability claim. Liberty Mutual’s 2024 Workplace Safety Index found that same-level falls alone cost employers nearly $10 billion annually in medical expenses and lost wage claims, while slips and trips that do not even result in a fall add another $2.3 billion on top of that. Those numbers are not abstract. They represent real people out of work, real claims filed and real operational disruption that most facilities never budget for until it happens to them.

The Physics Behind Struck-By and Caught-In Injuries:

The severity of a struck-by injury comes down to a simple equation: mass multiplied by velocity. A swinging excavator boom or a falling steel beam carries enormous kinetic energy and because that energy has to go somewhere on impact, the human body absorbs it in the form of blunt trauma, crush injuries, or fatal internal damage. According to OSHA.com, roughly 75% of struck-by fatalities involve heavy equipment or vehicles, which explains why mobile equipment interaction remains one of the most closely regulated areas of construction safety.

Caught-in-between injuries work differently, since they involve compression rather than impact alone, trapping a worker between two surfaces such as a reversing truck and a fixed wall, or pulling clothing and limbs into unguarded rotating machinery. Both mechanisms share one trait: once the energy transfer begins, no amount of PPE can fully reverse the outcome.

True Cost of Workplace Falls: Injuries and Downtime:

The direct medical cost of a single serious fall incident can exceed $40,000, but that figure only tells part of the story. Because injured workers often need six or more weeks to recover from fractures or soft tissue damage, employers absorb overtime pay to cover the gap, along with the cost of onboarding and training temporary replacements.

Falls also rank as the second leading cause of workplace fatalities and the aging workforce is pushing that risk higher every year since nearly one in four American workers is now 55 or older. So the true cost stacks up in layers: medical bills, lost productivity, replacement labor, insurance premium increases and in the worst cases, wrongful death claims. A proper fall prevention strategy built on regular hazard identification is what keeps these costs from compounding.

OSHA Compliance and Legal Liability Employers Must Know:

Under OSHA 1910.22, employers are required to keep all walking and working surfaces free of hazards and fall protection has remained the single most cited OSHA violation for years running. Willful violations can carry penalties up to $165,514 each, which is steep enough on its own, but the bigger exposure often comes from civil liability when an injured worker or their attorney demonstrates that a documented risk evaluation was never conducted.

Regulators and courts alike expect employers to show evidence of ongoing workplace safety compliance, not just a policy on paper. Therefore, a consistently documented slip, trip and falls risk assessment does double duty. It reduces the chance of an incident occurring and it becomes the paper trail that protects the organization if one does happen anyway.

Step-by-Step Guide to Slip, Trip and Falls Risk Assessment:

Running an effective slip, trip and falls risk assessment comes down to five stages that build on each other. Skip one and the whole process weakens, because each step feeds the data the next one needs. This sequence mirrors the standard risk management cycle used across occupational health and safety programs worldwide, but applied specifically to walking and working surfaces.

Step 1: Identify Hazards Across the Entire Worksite:

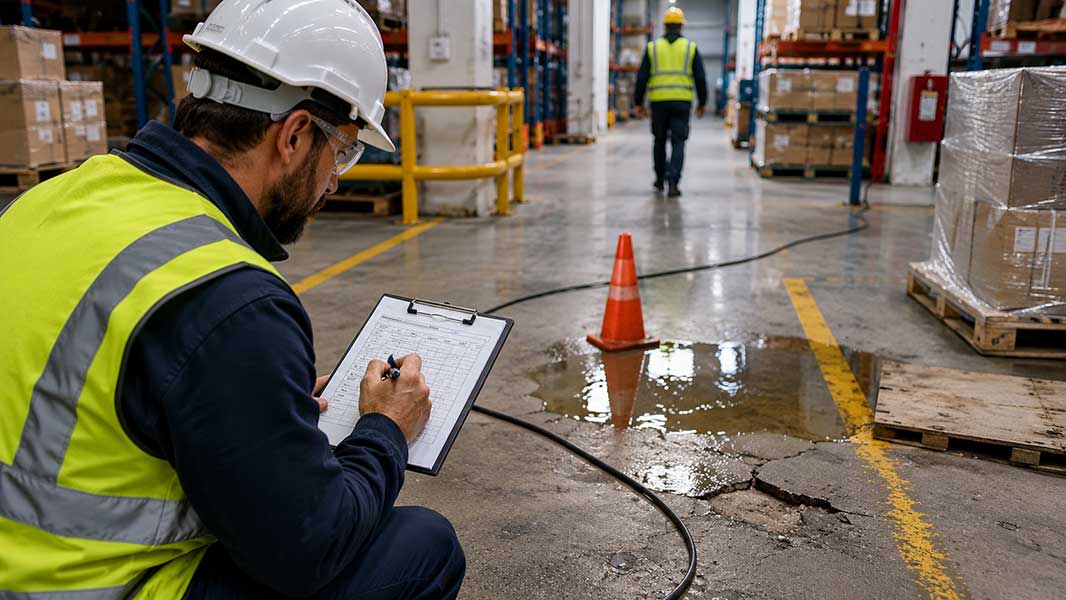
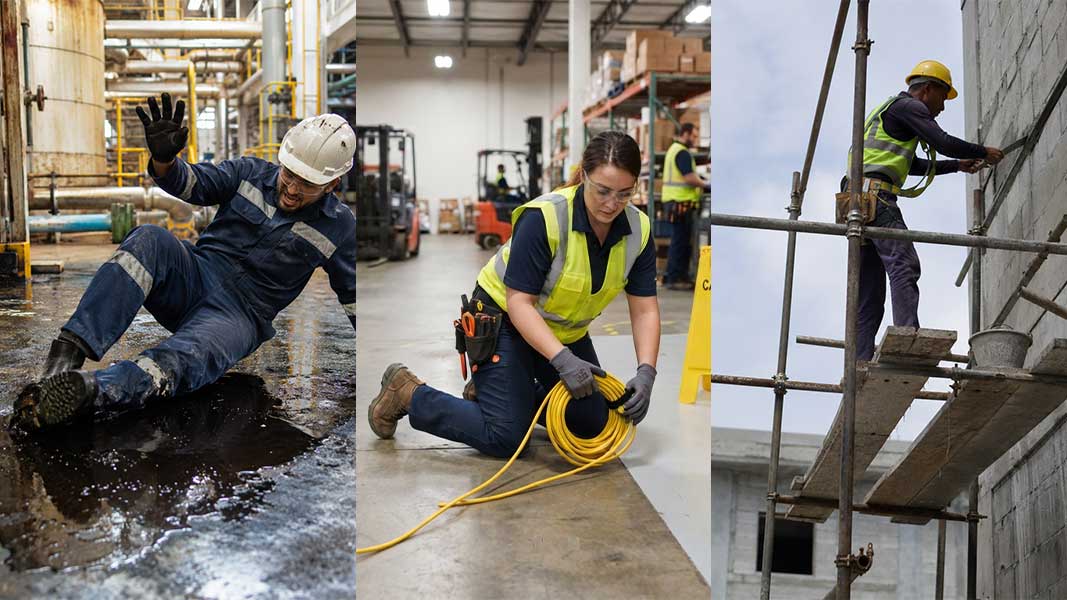
Start by physically walking every area employees, visitors and contractors move through, not just the production floor. This means stairwells, loading docks, break rooms, parking lots and outdoor walkways, since fall hazards rarely stay confined to the obvious spots. Look for wet or oily surfaces, uneven flooring, loose mats, exposed cables, poor lighting and cluttered aisles.

Because conditions shift by season and shift schedule, it helps to walk the site at different times of day and in different weather, so a hazard that only appears during a rainy morning rush does not get missed. Talk to employees directly too, since the people doing the work often know where the near misses actually happen, even if they were never formally reported.

Step 2: Identify Exposure Levels and At-Risk Groups:

Once hazards are mapped, identify who actually encounters them and how often. A stockroom shelf with a worn floor mat affects a handful of warehouse staff daily, but a slippery entrance during winter affects every employee, visitor and delivery driver who walks through the door.

Consider vulnerable groups specifically, including new hires unfamiliar with the layout, older workers who face higher fatality rates when falls occur and anyone working night shifts under reduced visibility. This step matters because resources are limited, so understanding exposure frequency and vulnerability helps prioritize which hazards need attention first.

Step 3: Rate the Risk Severity and Likelihood Levels:

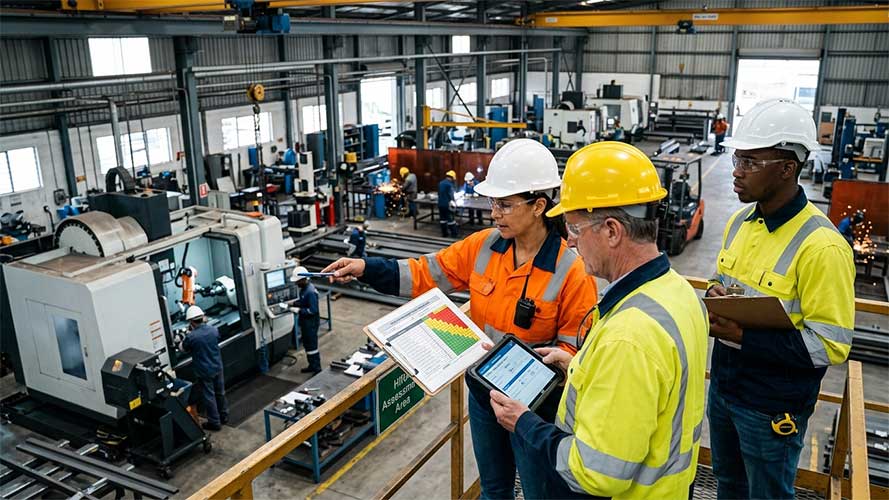
With hazards and exposed groups identified, assign each one a severity and likelihood rating, typically on a simple matrix such as low, medium or high for both factors. A cluttered walkway used rarely might rate as low likelihood but medium severity, while a consistently wet loading bay used by forklift operators could rate as high likelihood and high severity. Multiplying or combining these two factors gives a risk score that tells you where to act first. This is where a genuine risk evaluation separates itself from guesswork, because it forces a documented, defensible rationale behind every prioritization decision rather than relying on gut feeling alone.

Step 4: Implement Controls and Corrective Actions Fast:

Once risks are ranked, apply the hierarchy of controls, starting with elimination or substitution where possible, such as replacing a hazardous flooring material entirely, before moving to engineering controls like improved drainage or slip-resistant coatings. Administrative controls, including signage, cleaning schedules and lighting upgrades, come next, with personal protective equipment such as slip-resistant footwear as the final layer rather than the first line of defense.

Speed matters here because a documented high-risk hazard that sits unaddressed for weeks undermines the entire assessment and creates direct legal exposure if an incident occurs in that window. Assign a responsible owner and a firm deadline to every corrective action, not just a general intention to fix it eventually.

Step 5: Record Findings and Schedule Regular Reviews:

Document every hazard, rating and corrective action taken, along with the date and the person responsible, since this record becomes the evidence of workplace safety compliance if a regulator or insurer ever asks. But the assessment is not a one-time event. Facilities change, seasons change and new equipment or layout changes introduce new hazards, so schedule reviews at fixed intervals, such as quarterly and after any incident, near miss or major facility change. Building this review cycle into a recurring calendar item, rather than leaving it to memory, is what keeps a slip, trip and falls risk assessment accurate and genuinely useful instead of a stale document nobody revisits.

Slip, Trip and Falls Risk Assessment Checklist Guide:

A checklist turns a slip, trip and falls risk assessment from a vague intention into a repeatable, auditable process. It gives every person conducting the walkthrough the same baseline to check against, so nothing depends on memory or individual judgment alone. But a generic checklist pulled off the internet rarely fits every facility, so use the categories below as a starting framework, then adapt line items to match your specific layout, equipment and traffic patterns.

Indoor Workplace Hazard Checklist Items to Review Now:

Inside the facility, check flooring condition first, since cracks, worn tiles, curling carpet edges and transition strips between different surface types are common culprits.

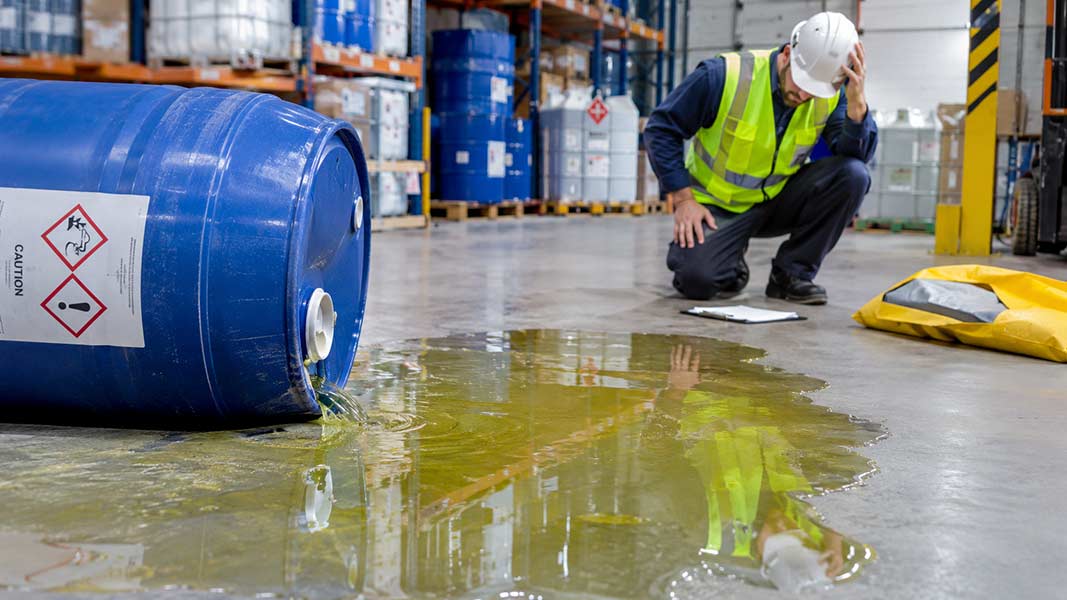
Look at spill response, including whether wet floor signage is actually available near sinks, break rooms and entrances or whether it sits forgotten in a storage closet.

Review cable and cord management across workstations, because trailing cables across walkways are one of the most preventable fall hazards in any office or production environment. Check lighting levels in stairwells, storage rooms and corners, since dim lighting hides hazards that would otherwise be obvious.

Inspect handrails on every staircase for stability, confirm step edges are marked with contrasting tape where needed and verify that storage areas keep aisles clear rather than using walkways as overflow space. Finally, review housekeeping schedules to confirm cleaning happens on a fixed rotation rather than only when someone complains.

Outdoor and Site-Specific Checklist Considerations:

Outdoor areas introduce variables that indoor checklists do not cover, so weather becomes a central factor. Check that entrance mats are long enough, typically ten to fifteen feet, to absorb moisture during wet weather and confirm they are anchored properly rather than sliding underfoot.

Review parking lot and walkway surfaces for potholes, cracked pavement and drainage issues that create standing water or ice in colder months. For sites with loading docks, inspect dock plates, ramps and the transition points where forklifts and pedestrians share the same path, since this overlap creates elevated risk.

Confirm outdoor lighting covers walkways adequately after dark and if the facility operates in a region with snow or ice, verify that salting or de-icing procedures have an assigned owner and a clear trigger point rather than a vague “as needed” policy. Because outdoor conditions change daily, this section of the checklist needs the most frequent re-verification of the entire assessment.

Best Practices to Prevent Slips, Trips and Falls at Work:

Prevention works best when it becomes routine rather than reactive. A slip, trip and falls risk assessment identifies where the hazards are, but best practices are what keep those hazards from reappearing week after week. The two areas that make the biggest difference are consistent housekeeping and a workforce that actually reports problems instead of walking around them.

Follow Housekeeping and Facility Maintenance Protocols:

Assign cleaning and maintenance tasks to specific people with specific timeframes, because vague responsibility is how spills sit unattended for hours. Set a fixed schedule for floor cleaning that accounts for peak traffic times, so mopping does not happen right before a shift change when the floor cannot dry before people walk through.

Maintain equipment proactively too, since a leaking machine or a failing gutter outside an entrance creates the same hazard day after day until someone repairs the actual source instead of just mopping up the symptom. Inspect flooring materials periodically for wear, because slip resistance degrades over time even on surfaces that were compliant when installed. Keep storage areas organized with a “nothing in the walkway” rule enforced consistently, not just during scheduled inspections. Because fall prevention depends on consistency, a maintenance protocol that only activates after a complaint is already behind the curve.

Employee Training and Hazard Reporting Culture Building:

Training matters, but the training itself is only half the equation. Employees need to understand what a hazard actually looks like in their specific work area, not just generic slogans about watching their step. Cover proper footwear requirements, correct spill response procedures and how to safely navigate temporary hazards like wet floors or construction zones. But the harder part is building a culture where employees feel comfortable reporting hazards without worrying it reflects poorly on them or their team. Because if workers stay quiet about a recurring loose tile or a burnt-out hallway light, the hazard persists regardless of how thorough the original hazard identification process was. Make reporting simple, whether through a physical logbook, a QR code near work areas or a direct line to a supervisor and close the loop by letting employees know when their report led to an actual fix. That feedback loop is what turns reporting from a formality into something people actually use.

Tools and Templates for Risk Assessment:

The right tool does not replace good judgment during a slip, trip and falls risk assessment, but it does make the process faster, more consistent and easier to defend later. A basic template should capture the hazard location, description, severity rating, likelihood rating, assigned corrective action, responsible owner and target completion date. Whether that template lives in a spreadsheet or a dedicated safety platform depends largely on facility size and how many people need access to the data at once.

Digital Software Versus Manual Assessment Methods:

Manual methods, such as a printed checklist and a clipboard, still work fine for smaller facilities with a single site and a small team conducting the walkthrough. But manual records become a liability of their own once a facility scales, because paper forms get lost, handwriting gets misread and pulling historical trends across multiple locations turns into a manual data entry project nobody has time for.

Digital tools solve this by centralizing every assessment in one searchable record, timestamping entries automatically and often allowing photo attachments directly from a phone during the walkthrough itself.

This matters because photographic evidence paired with a timestamp is far more defensible during an audit or a legal claim than a handwritten note from three months ago. Digital platforms also make it easier to track whether corrective actions were actually closed out, since overdue items can trigger automatic reminders rather than getting buried in someone’s inbox. The right choice depends on scale, budget and how many stakeholders need visibility into the findings.

Frequent Asked Questions (FAQs):

How often should a slip, trip and falls risk assessment be conducted?

At minimum quarterly, but also after any incident, near miss, facility layout change, seasonal shift or introduction of new equipment that alters walking surfaces or traffic patterns.

What is the difference between a hazard and a risk in this context?

A hazard is the physical condition itself, such as a wet floor. Risk is the combined likelihood and severity of that hazard actually causing an injury, which is why risk ratings require both factors.

Who is legally responsible for conducting a workplace fall risk assessment?

Employers hold the primary legal duty under OSHA’s general duty clause, but many organizations assign the actual assessment to a designated safety officer, facility manager or third-party HSE consultant.

What is the hierarchy of controls as applied to fall hazards?

It ranks interventions from most to least effective: elimination, substitution, engineering controls like drainage or coatings, administrative controls like signage and schedules and personal protective equipment last.

How does a risk matrix quantify severity and likelihood?

Most matrices use a numbered scale, often 1 to 5, for both severity and likelihood, then multiply the two values to produce a risk score that ranks hazards by priority for corrective action.

What documentation should be retained after completing an assessment?

Retain the hazard log, risk ratings, corrective actions taken, responsible parties, completion dates and any photographic evidence, since this record demonstrates compliance during audits or legal proceedings.

Are outdoor walkways subject to the same assessment standards as indoor floors?

Yes, OSHA’s walking-working surfaces standard applies to any surface where employees walk or work, including parking lots, loading docks and outdoor pathways, though seasonal factors require more frequent review.

What role does footwear play in a formal risk assessment?

Footwear is typically the last line of defense in the hierarchy of controls, so an assessment should evaluate whether required slip-resistant footwear is enforced, but should not rely on footwear alone to offset an unaddressed hazard.

Yes, timestamped digital records with photographic documentation are generally considered stronger evidence than handwritten logs, since they establish a clear, auditable chain of when hazards were identified and addressed.

Inquiry Form